I would say the same if I didn’t have to live in the house and just wanted to get done quickly.
Just to emphasize this again: My HSL master really still has the claim to deliver proper work, and if a necessary preliminary work was botched, he would say so.
He said the main thing is north. Whether northeast or northwest, it’s really not such a big difference, he can manage that. Today’s heat pumps are “adjustable” enough.
Are you sure that’s really a problem? The adjacent boards should actually, uh, lie flat, namely firmly on the ground, shouldn’t they?
Well, as I said, with very narrow pieces I had that problem in reality during installation already. I could also well imagine that with pure EPS on top it could still happen after the screed over the years, vibrations, etc. would already shake out the perlite. That can’t happen with hard wax or bitumen-coated perlite because as soon as pressure is applied it sticks together to hold its shape, i.e. it is bonded. But before I had boards on it, it was also still the case for that type that the perlite liked to slip under the pieces while installing. At first I taped the joints and later used mounting adhesive because that was faster. With large boards that didn’t happen so easily.
That’s certainly meant positively (for @pagoni2020), isn’t it?
I can gladly expand on that.
So my idea of from the forum was that of an older, settled (and maybe also somewhat stocky) man of medium height, with snow-white hair and an equally white full beard.
Nice and with the flair of a good-natured uncle who tells stories.
I met a tall, slim, vital man in his prime, with youthful charisma and energy, combined with the aura of a worldly professor who lectures at international conferences and a hint of a French bohemian. Add a bit of Swabian wit and the savoir-faire of a Cuban casino owner and you get a perhaps somewhat exaggerated picture of .
So, now go ahead and blush!
Back to my construction project:
As I said, I was pretty done and that the exterior plaster was already finished down to the base only comforted me a bit...
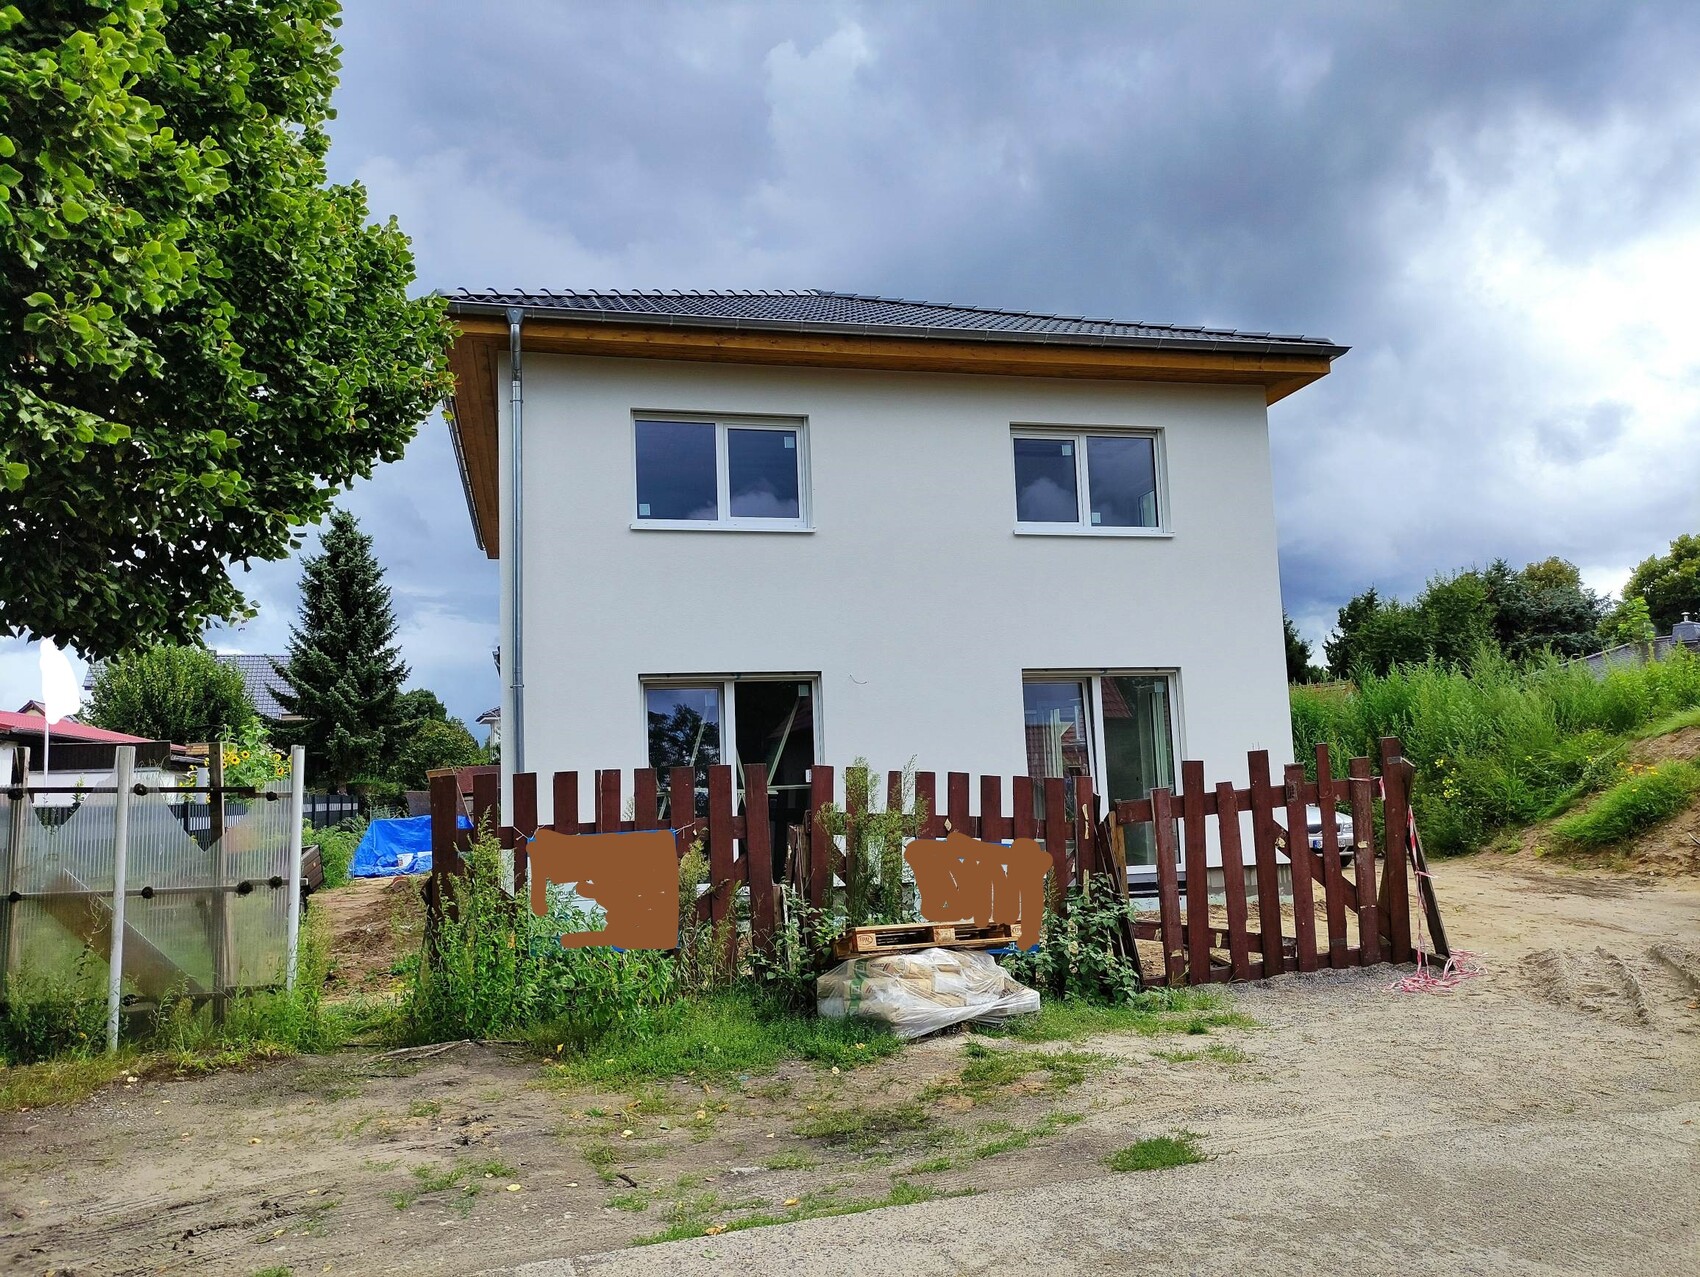
View from the street
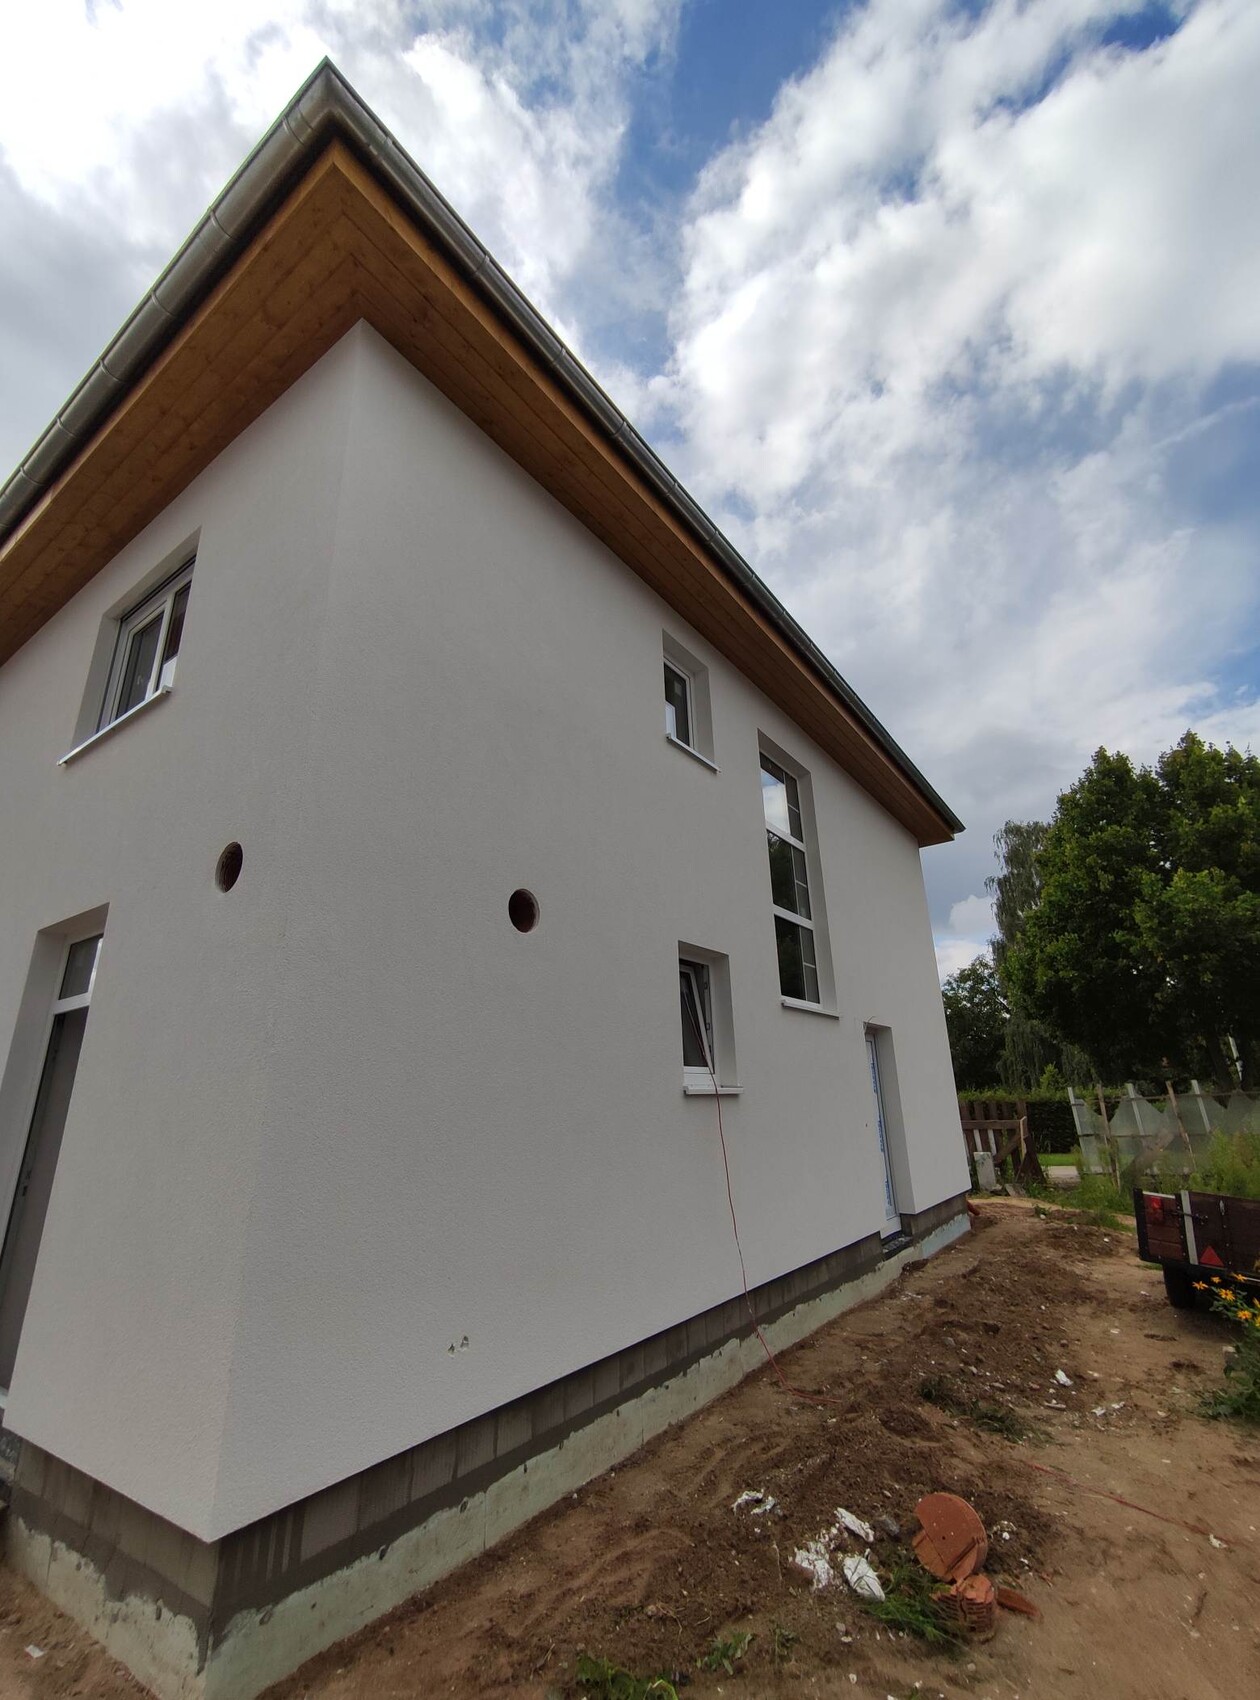
View from the side neighbor to the large stairwell window and the main entrance as well as the guest bathroom; you can see the core drilling for the controlled indoor ventilation
View from the rear neighbor to the garden side (through the window you can see some of insulation)
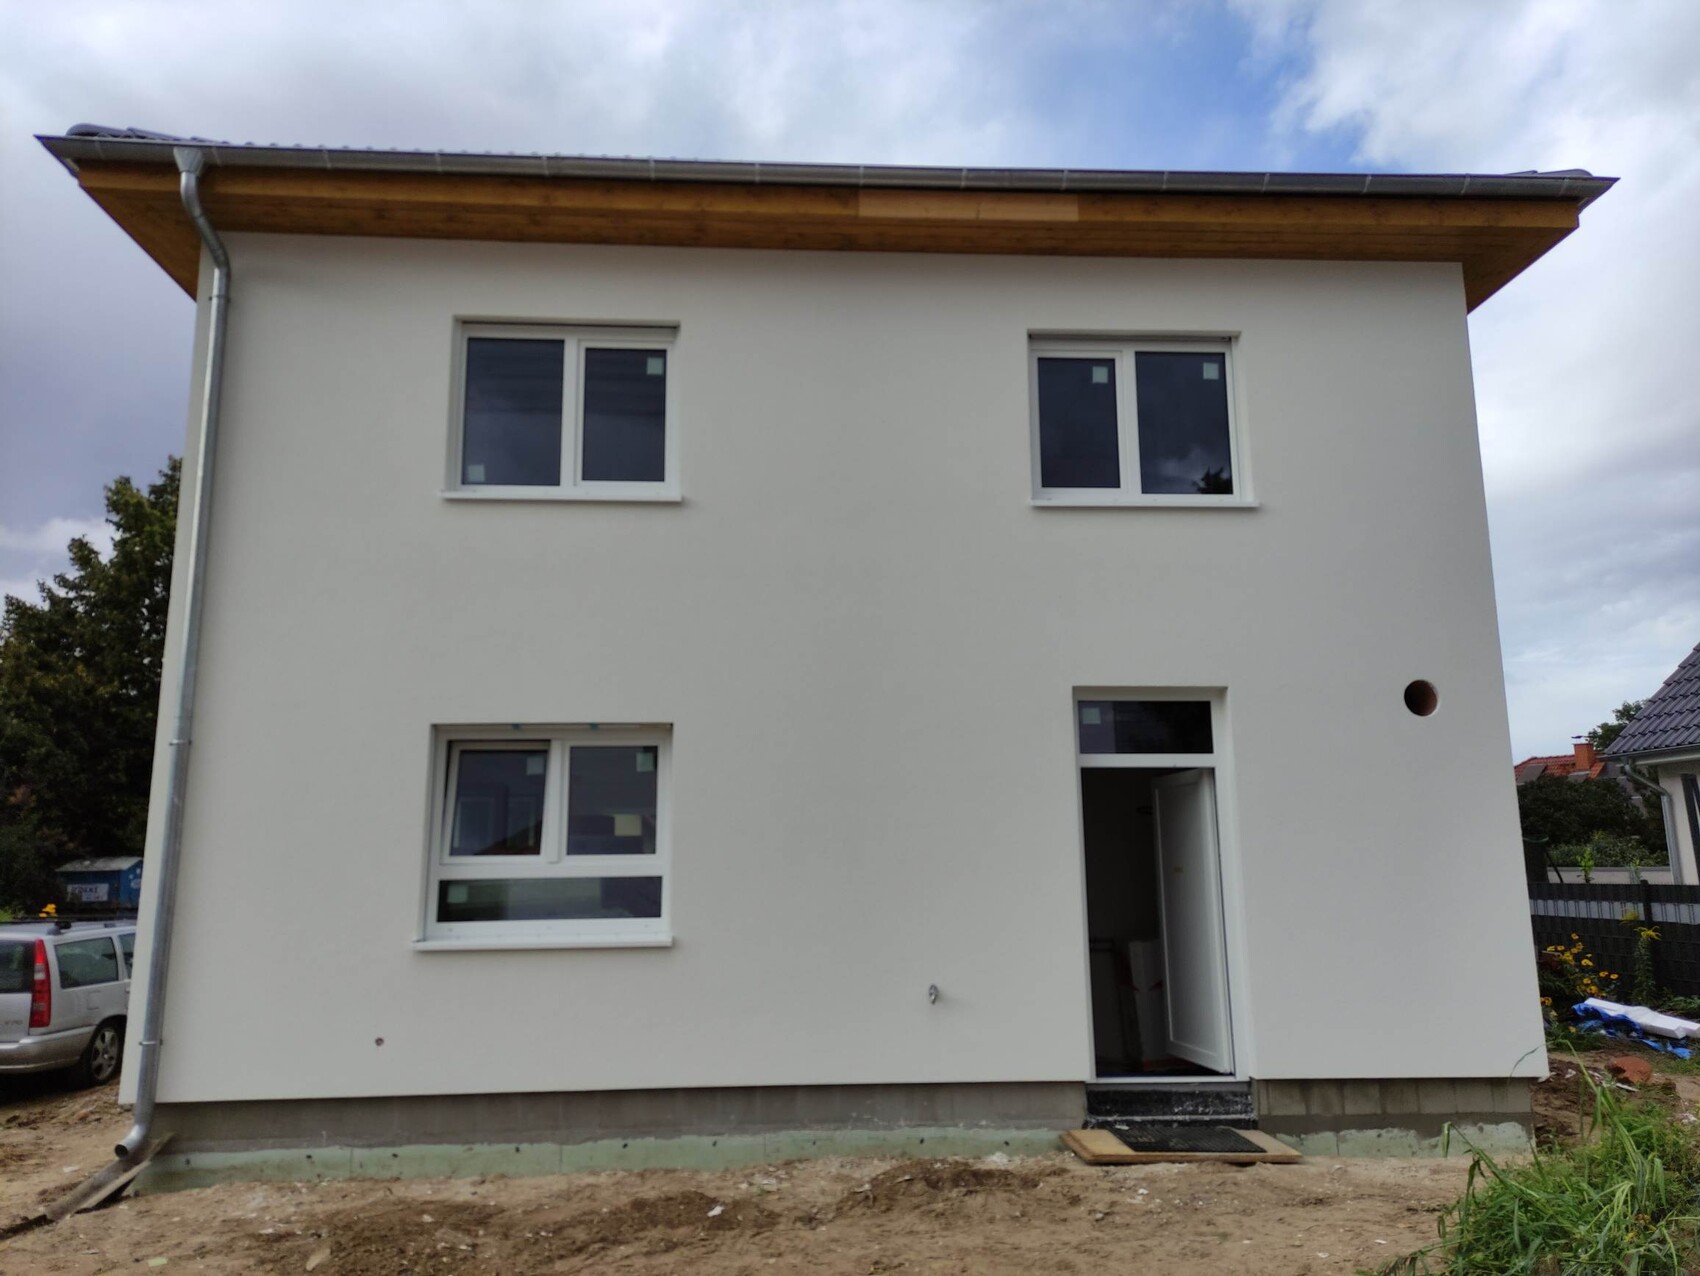
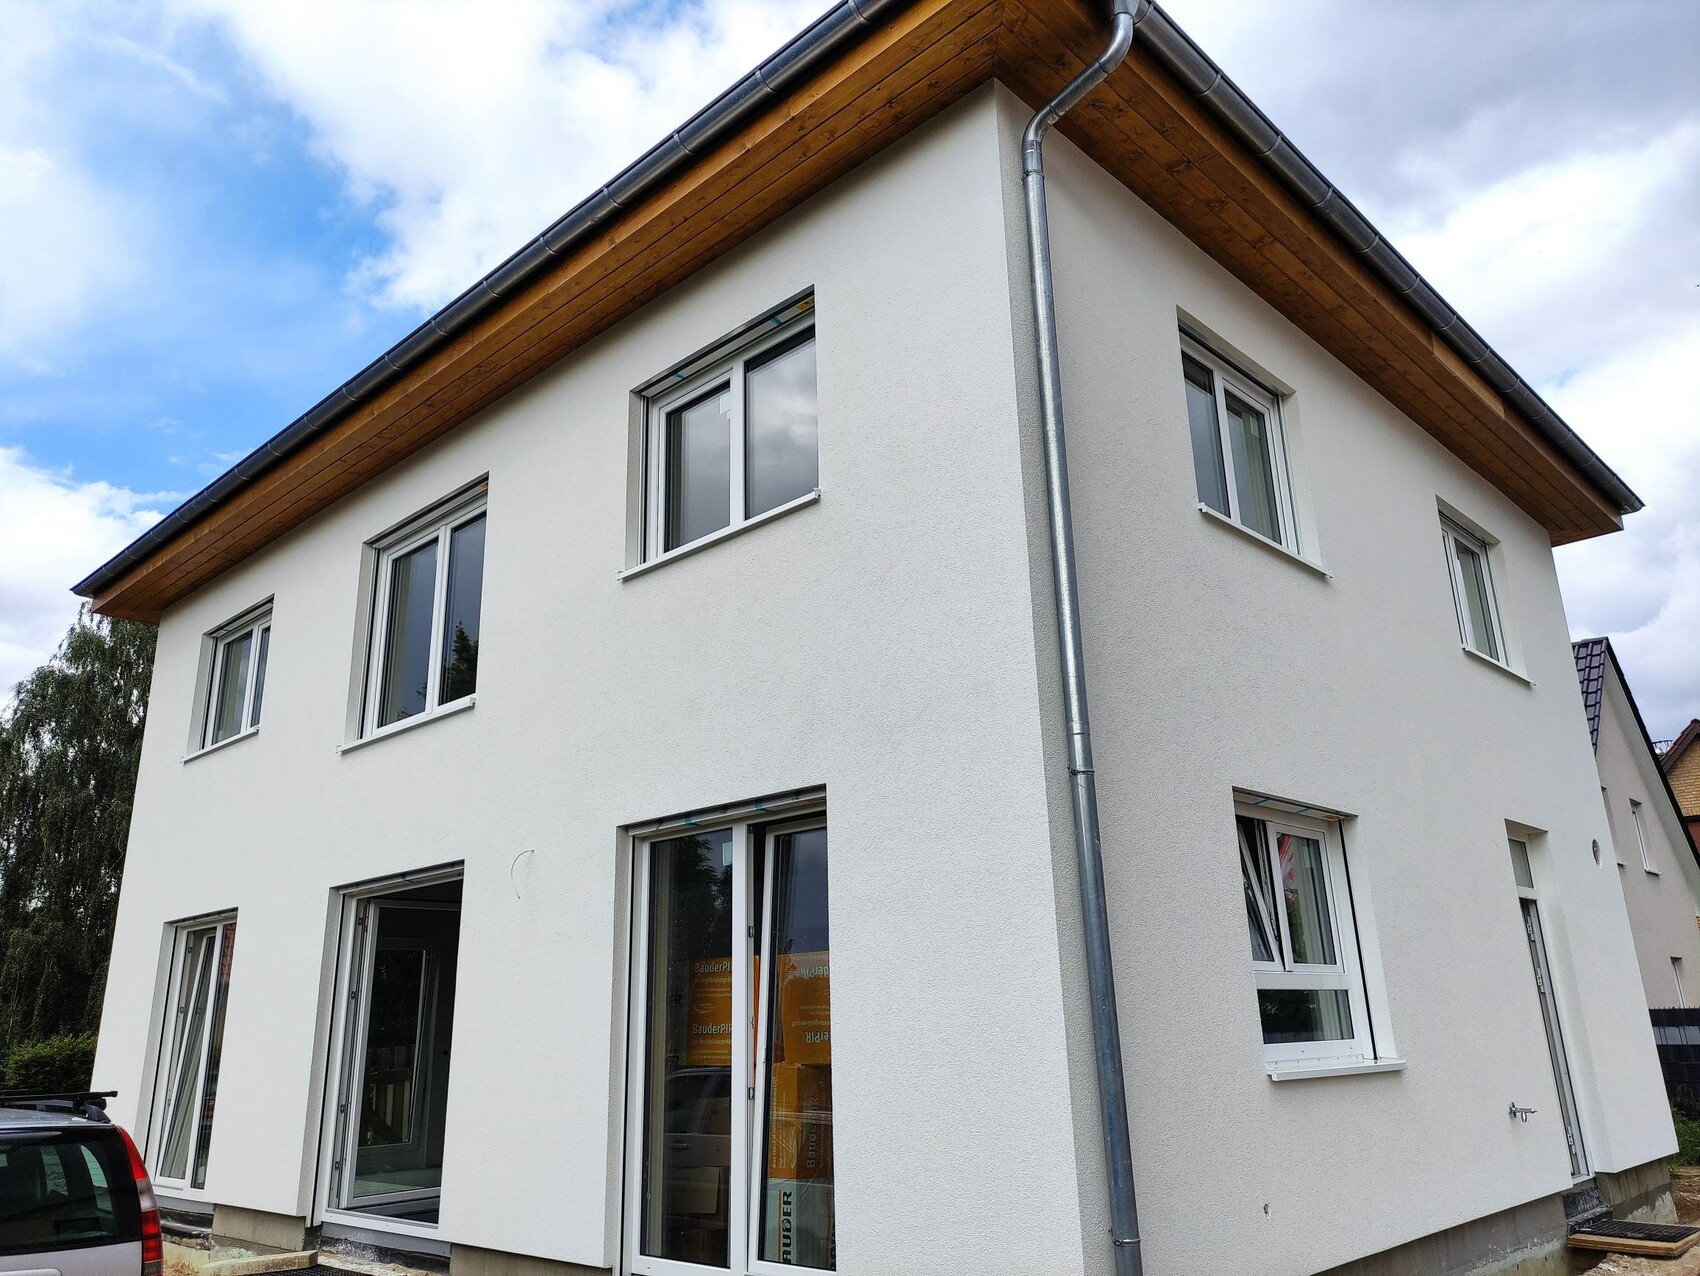
Once again the backside of the house from the rear neighbor’s perspective. Kitchen window and side entrance door (main building door)
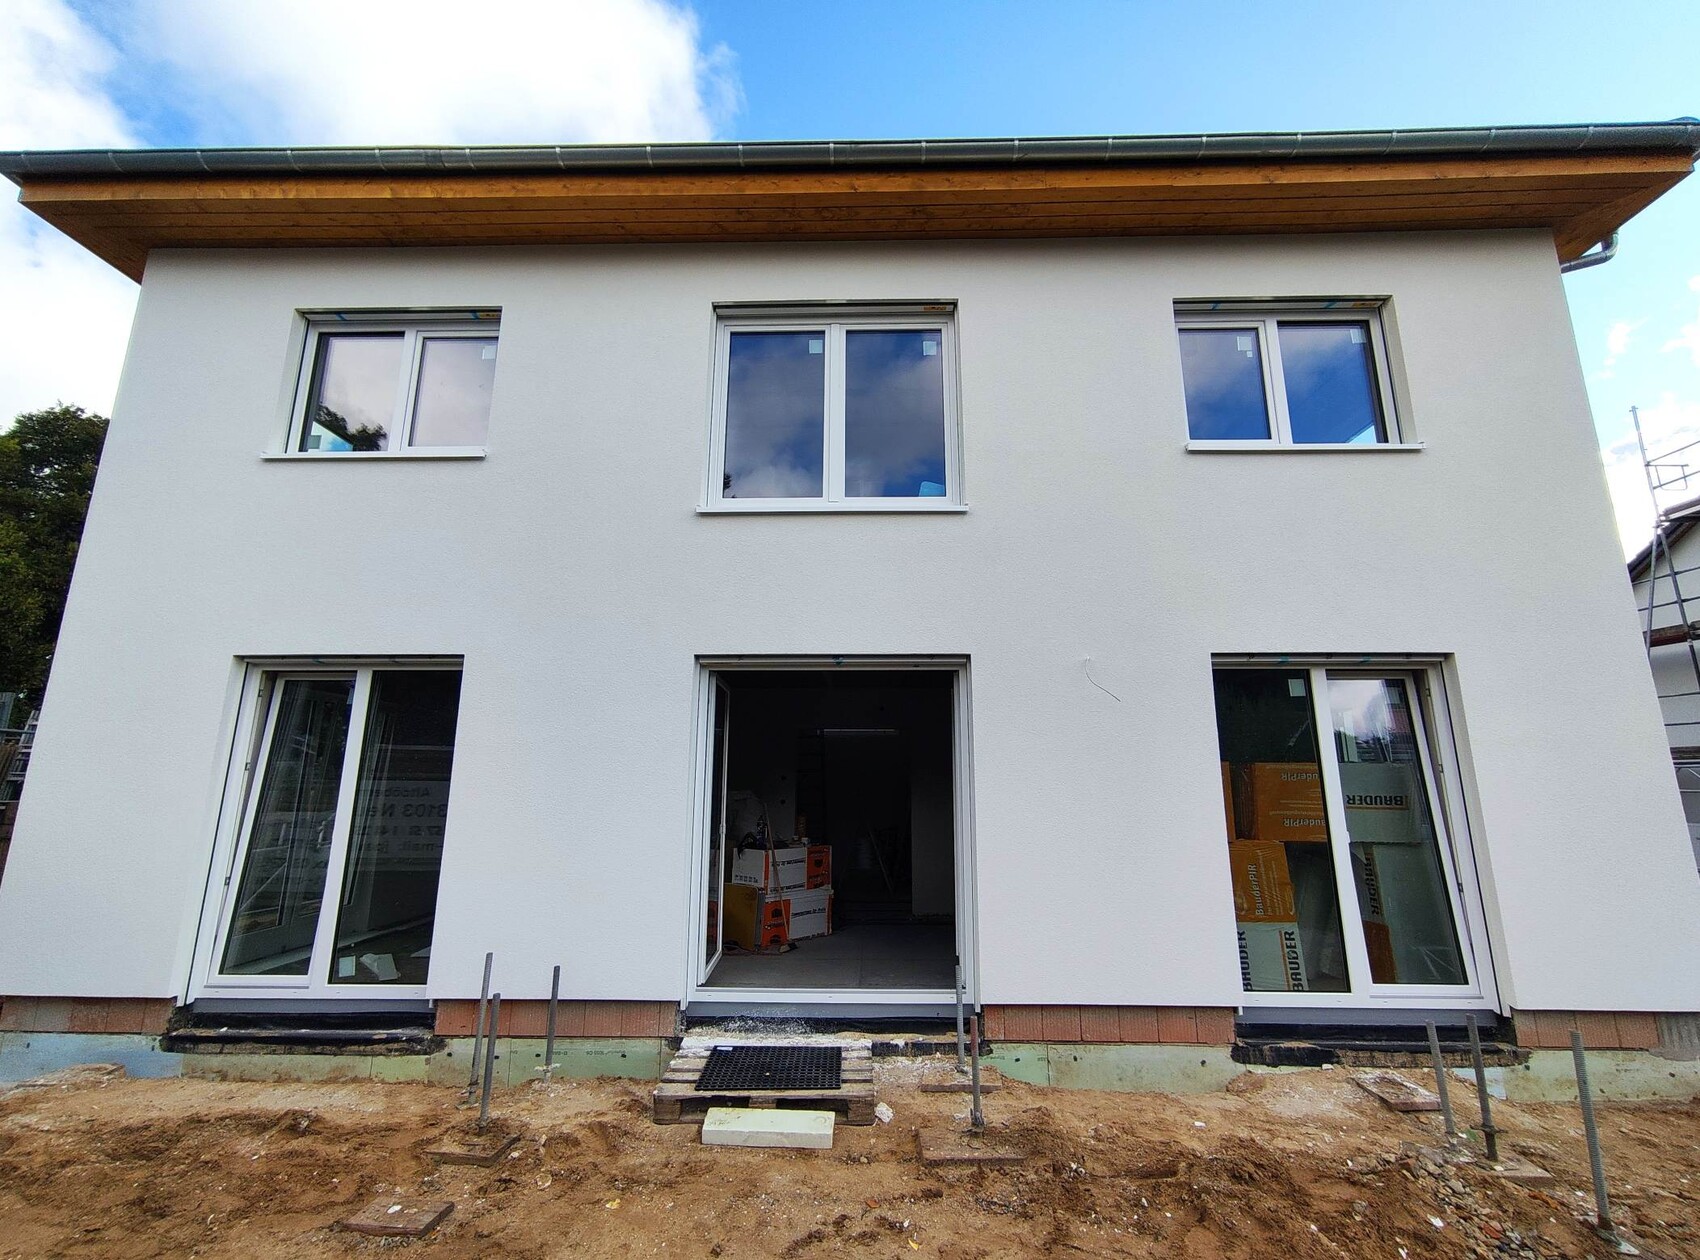
Again the garden side (also in the house pictures thread)...
So, I would have liked to show you pictures of the sub-insulation. But I was actually so stressed out that the idea didn’t even come up. Also, I simply didn’t document the intermediate stages. Crazy.
Here now follow pictures of what rests on the sub-insulation. I think I must have done something right...
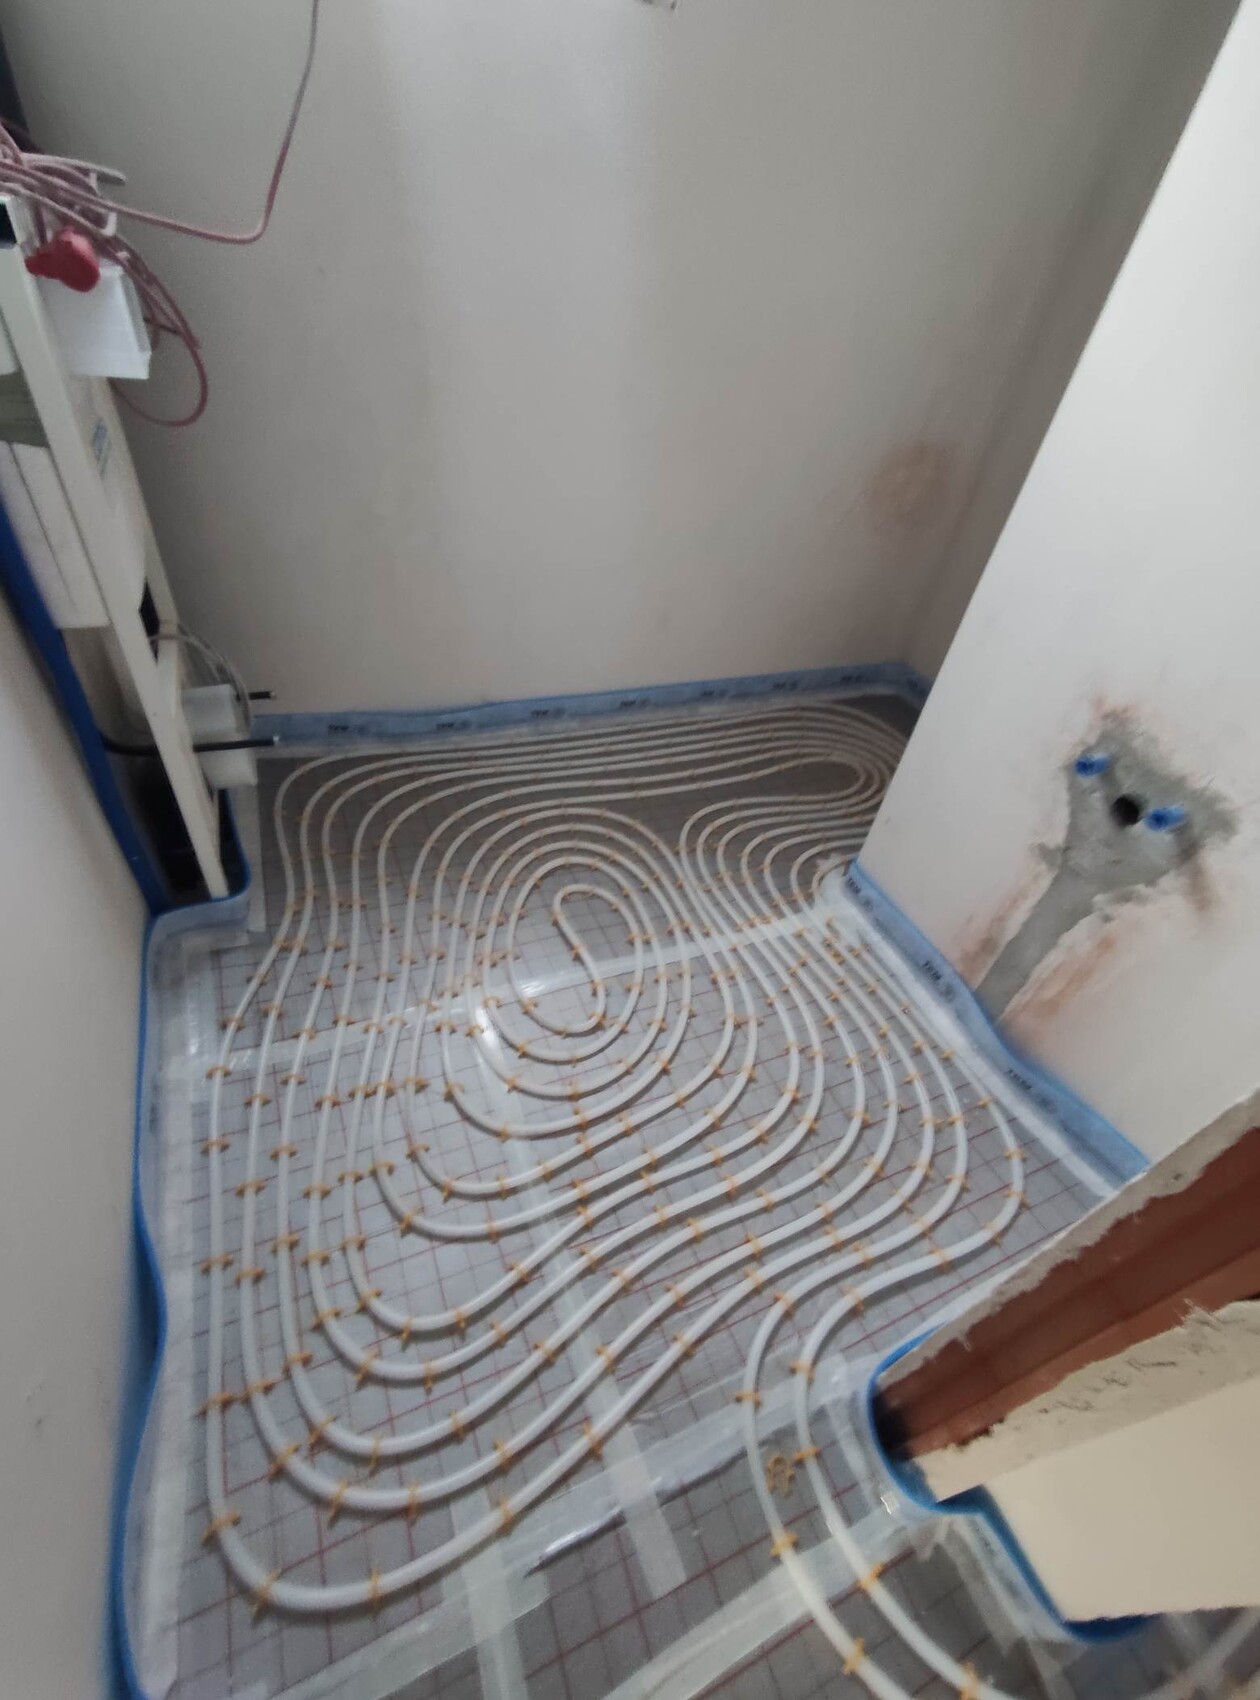
Guest bathroom – nice small underfloor heating also in the shower
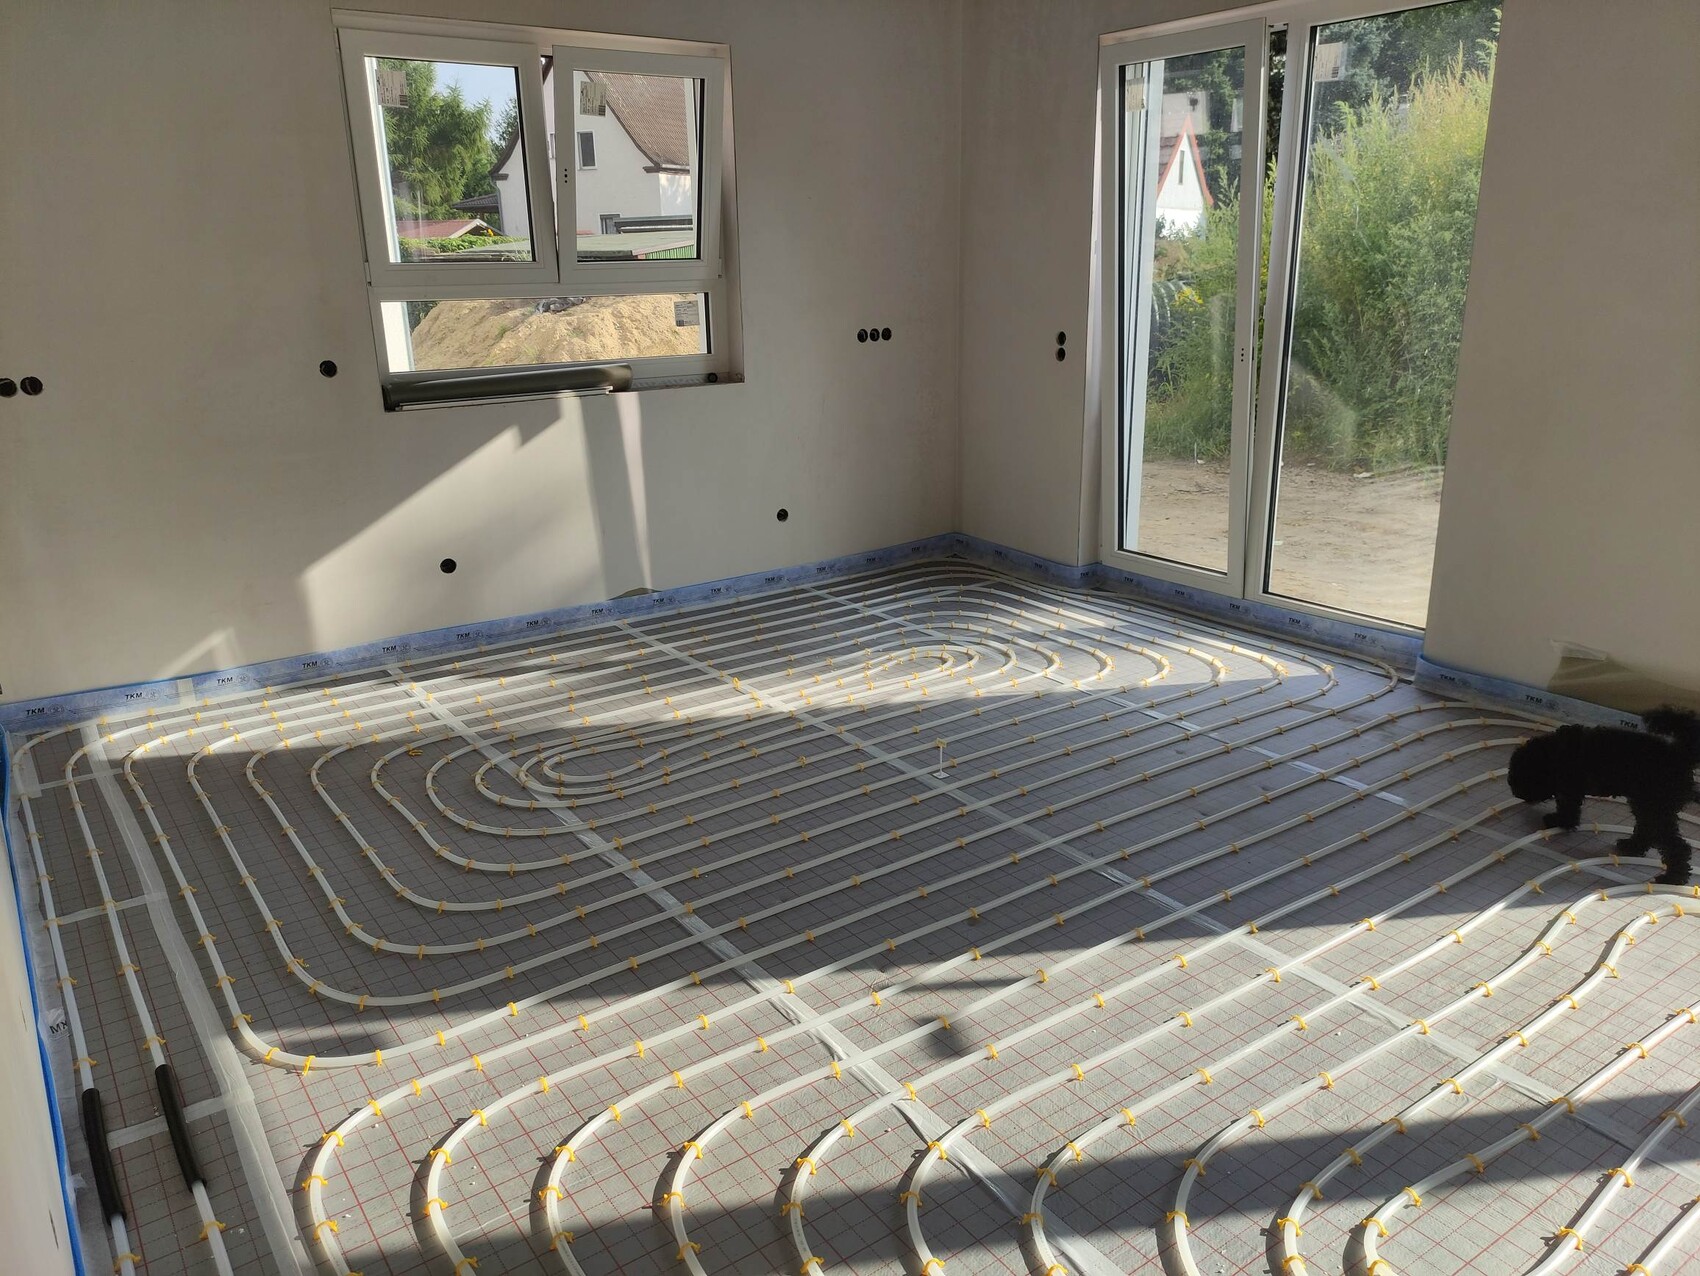
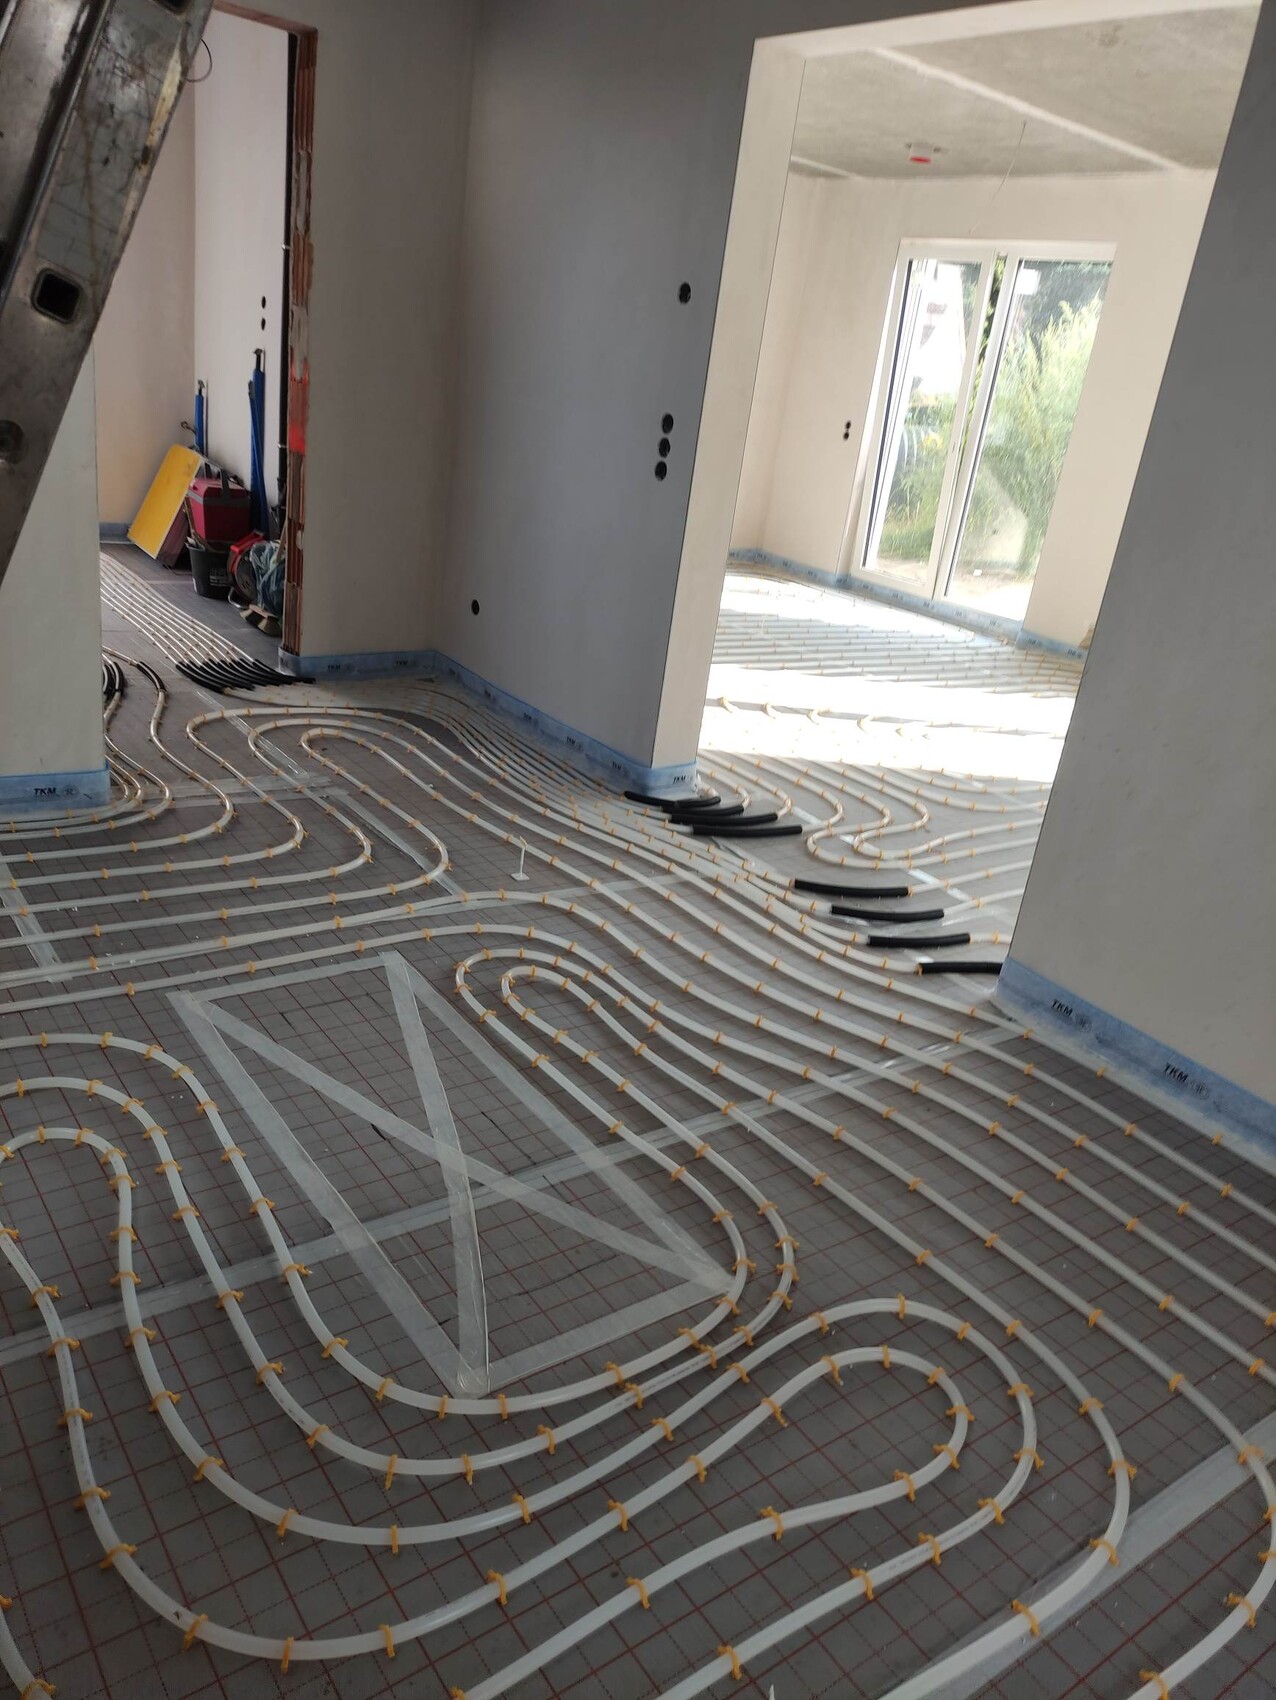
Living area – larger underfloor heating, but also a much larger total area. Approved by the poodle...

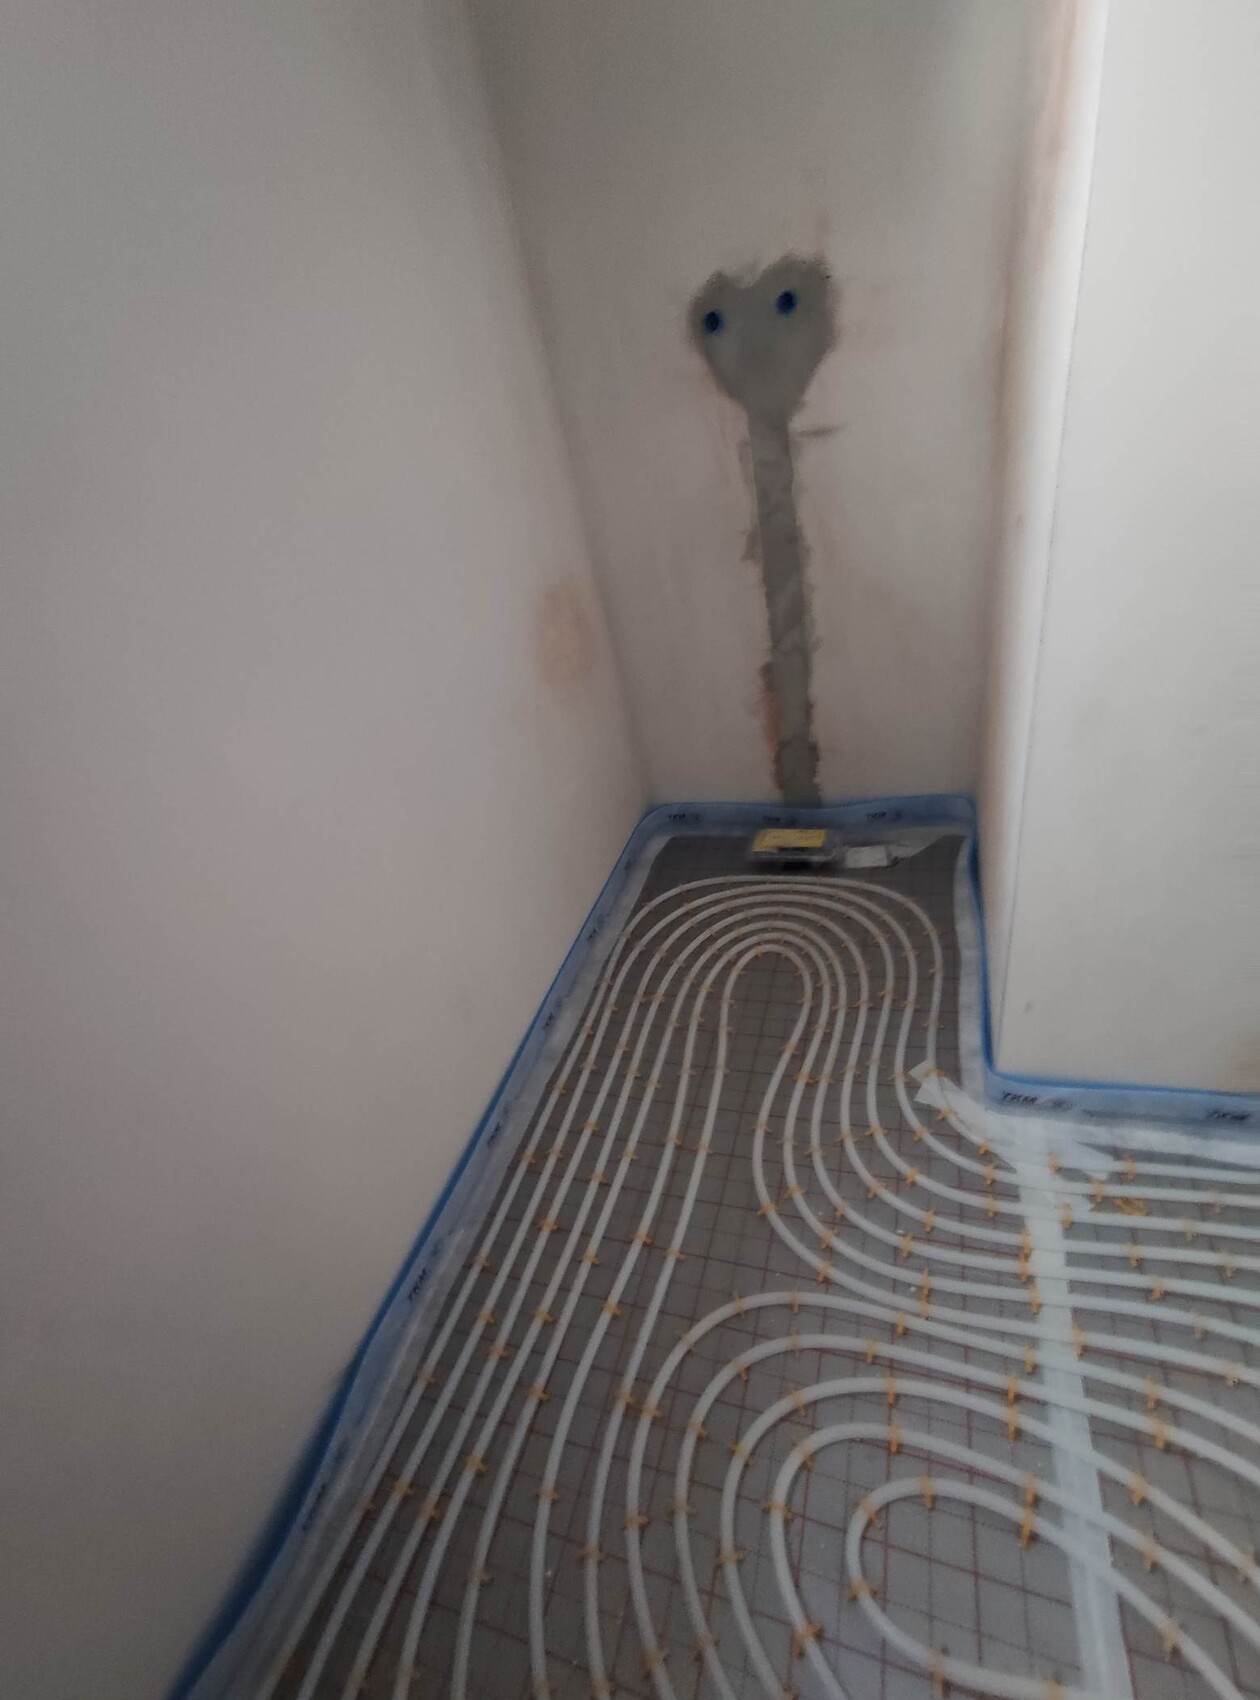
The utility room with the heating circuit distributor has no own underfloor heating. That was not really planned that way, but apparently it should be enough. I will ask the master again if that really stays that way and if a centered routing of the supply lines wouldn’t have been more sensible...
Hallway with recess for the foot of the stairs (according to the stair builder not necessary, but a precaution and porcelain nut and so on).