Dear forum,
although some time has passed since our last "conversation", we have used it to have our draft thoroughly checked by an independent architect.
All in all, from our point of view it was a helpful additional round that also led to some changes.
In addition to the facade design (windows and formats), the floor plan in the top floor was optimized, as well as the arrangement of the doors, and besides one bathroom, two lift-and-slide doors were also removed... The supply lines and the statics were also pre-planned.
In short, a summary of what has changed since the last floor plan publication (post 41).
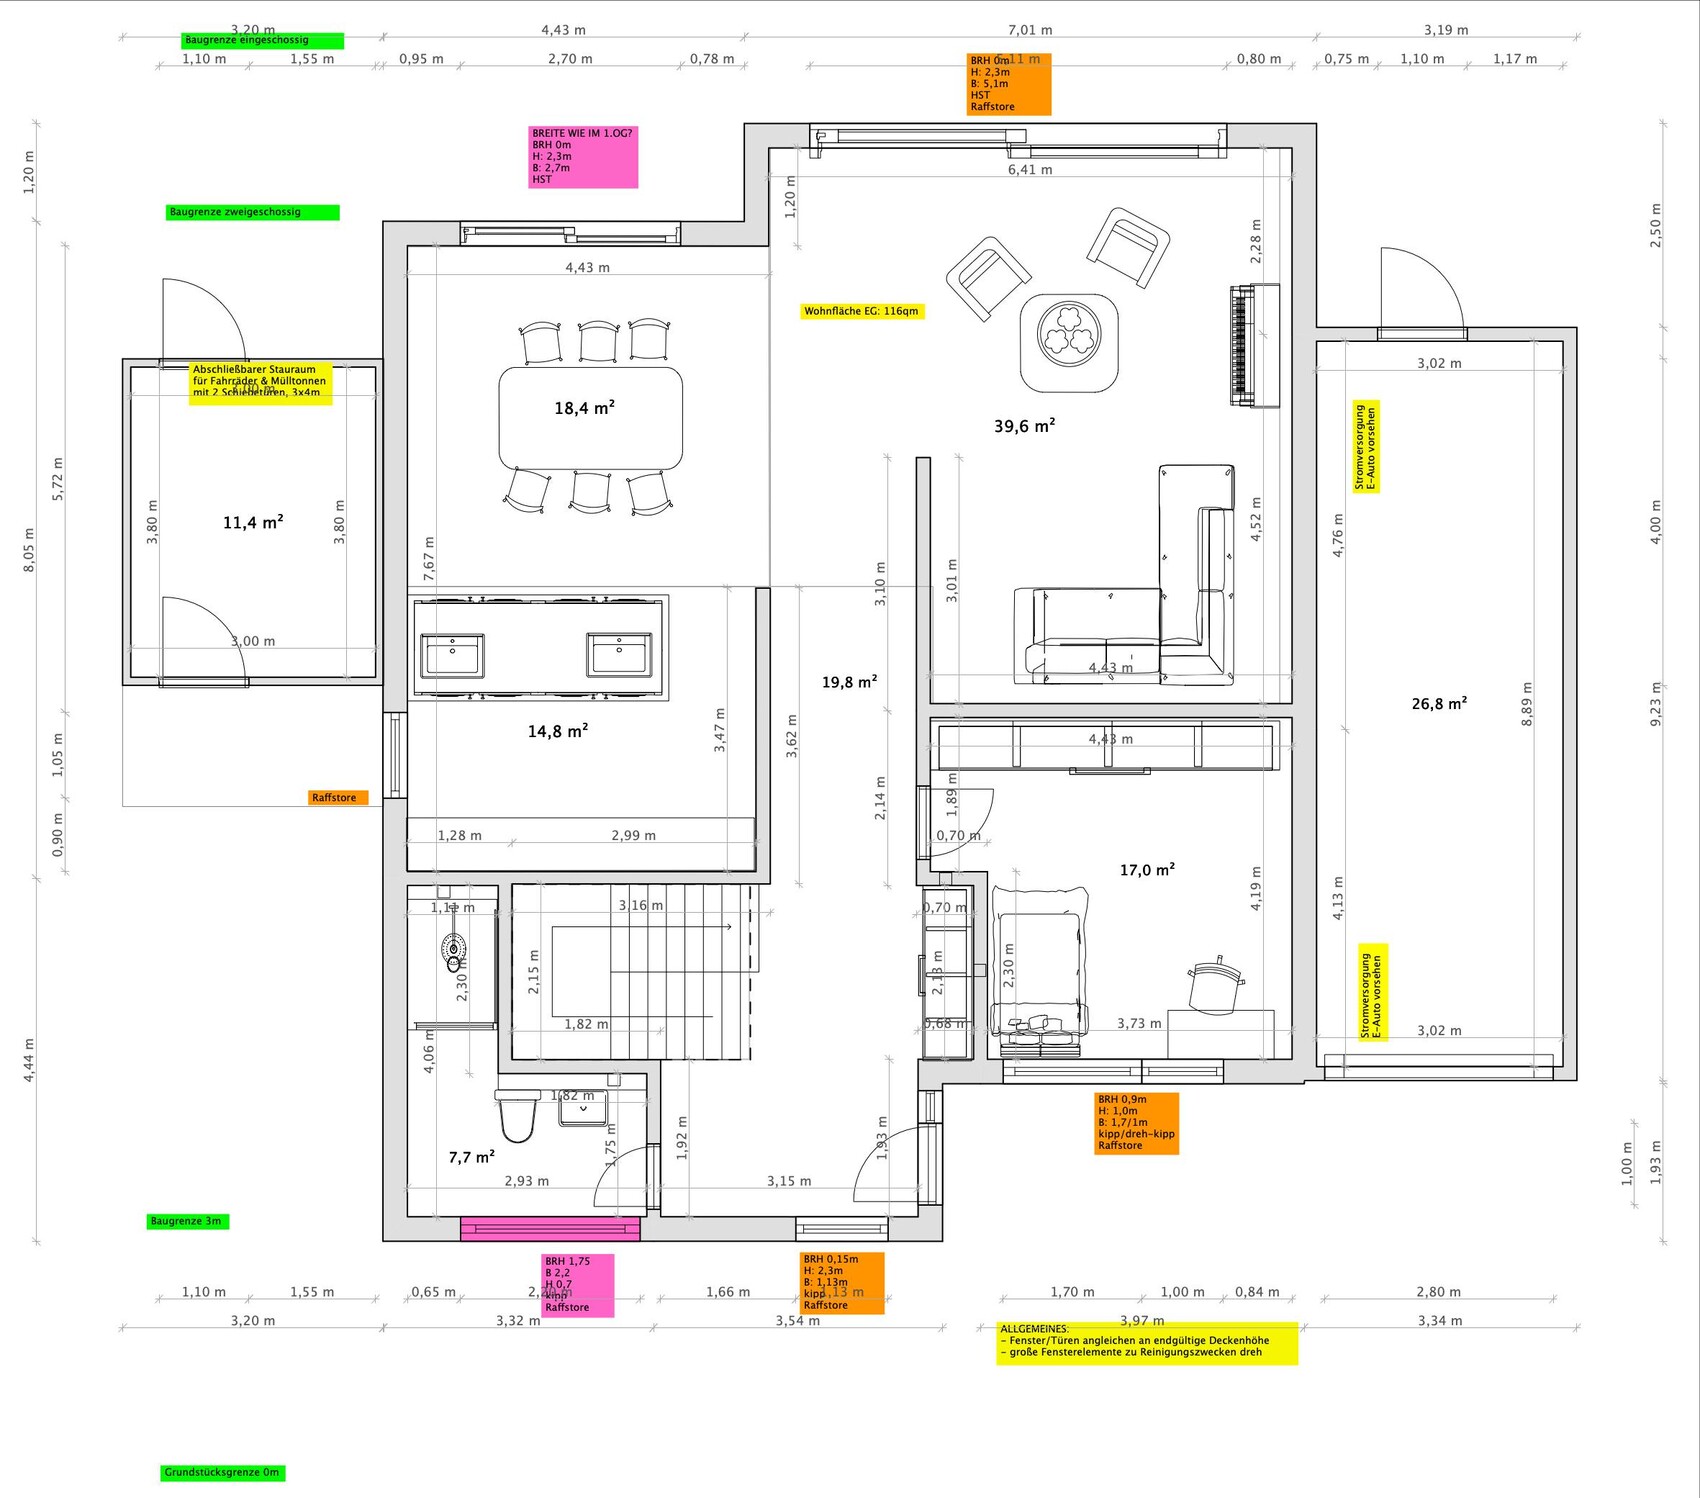
Ground floor:
[*]The built-in wardrobe was made somewhat narrower so that it aligns with the width of the staircase. As a substitute measure, we have thought about a built-in solution that encloses the guest bathroom door and is designed as a children’s cloakroom.
[*]Slight shifting of the guest room door to create space for a wardrobe behind it
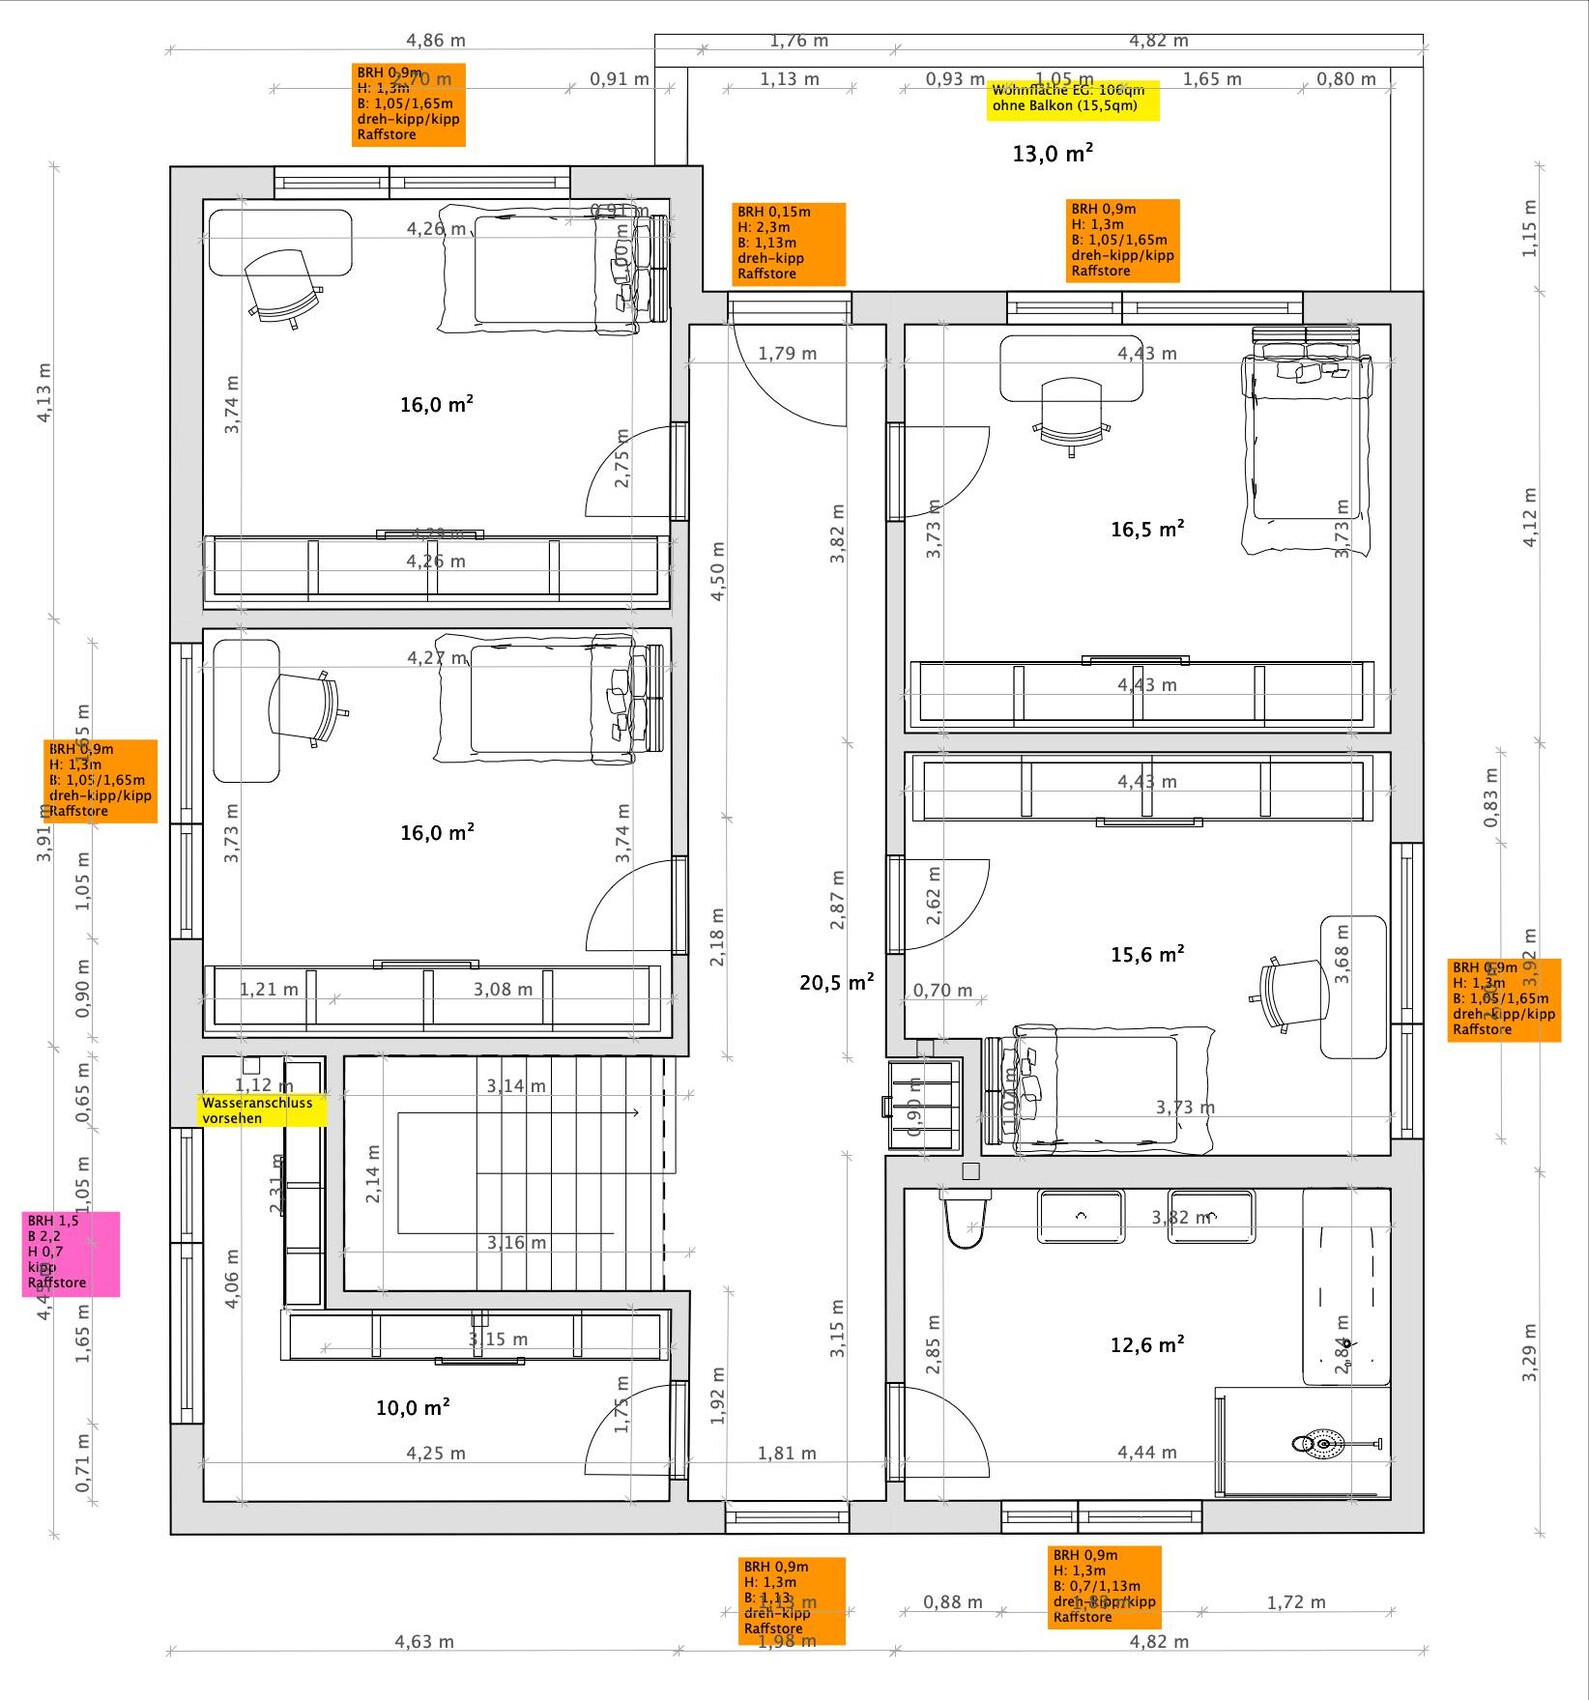
1st floor:
[*]The second children's bathroom (formerly located directly above the guest bathroom) has been eliminated. This room will now be used as a utility room with washing machine & dryer or as storage space.
[*]Slight shifting of the doors of the children's rooms and bathroom/utility room to make it more appealing and to create space for wardrobes behind the doors
[*]Reduction of the built-in wardrobe opposite the staircase to make the bathroom layout with bathtub more appealing. The walls are to be made in lightweight construction to hide the "lifeline" behind.
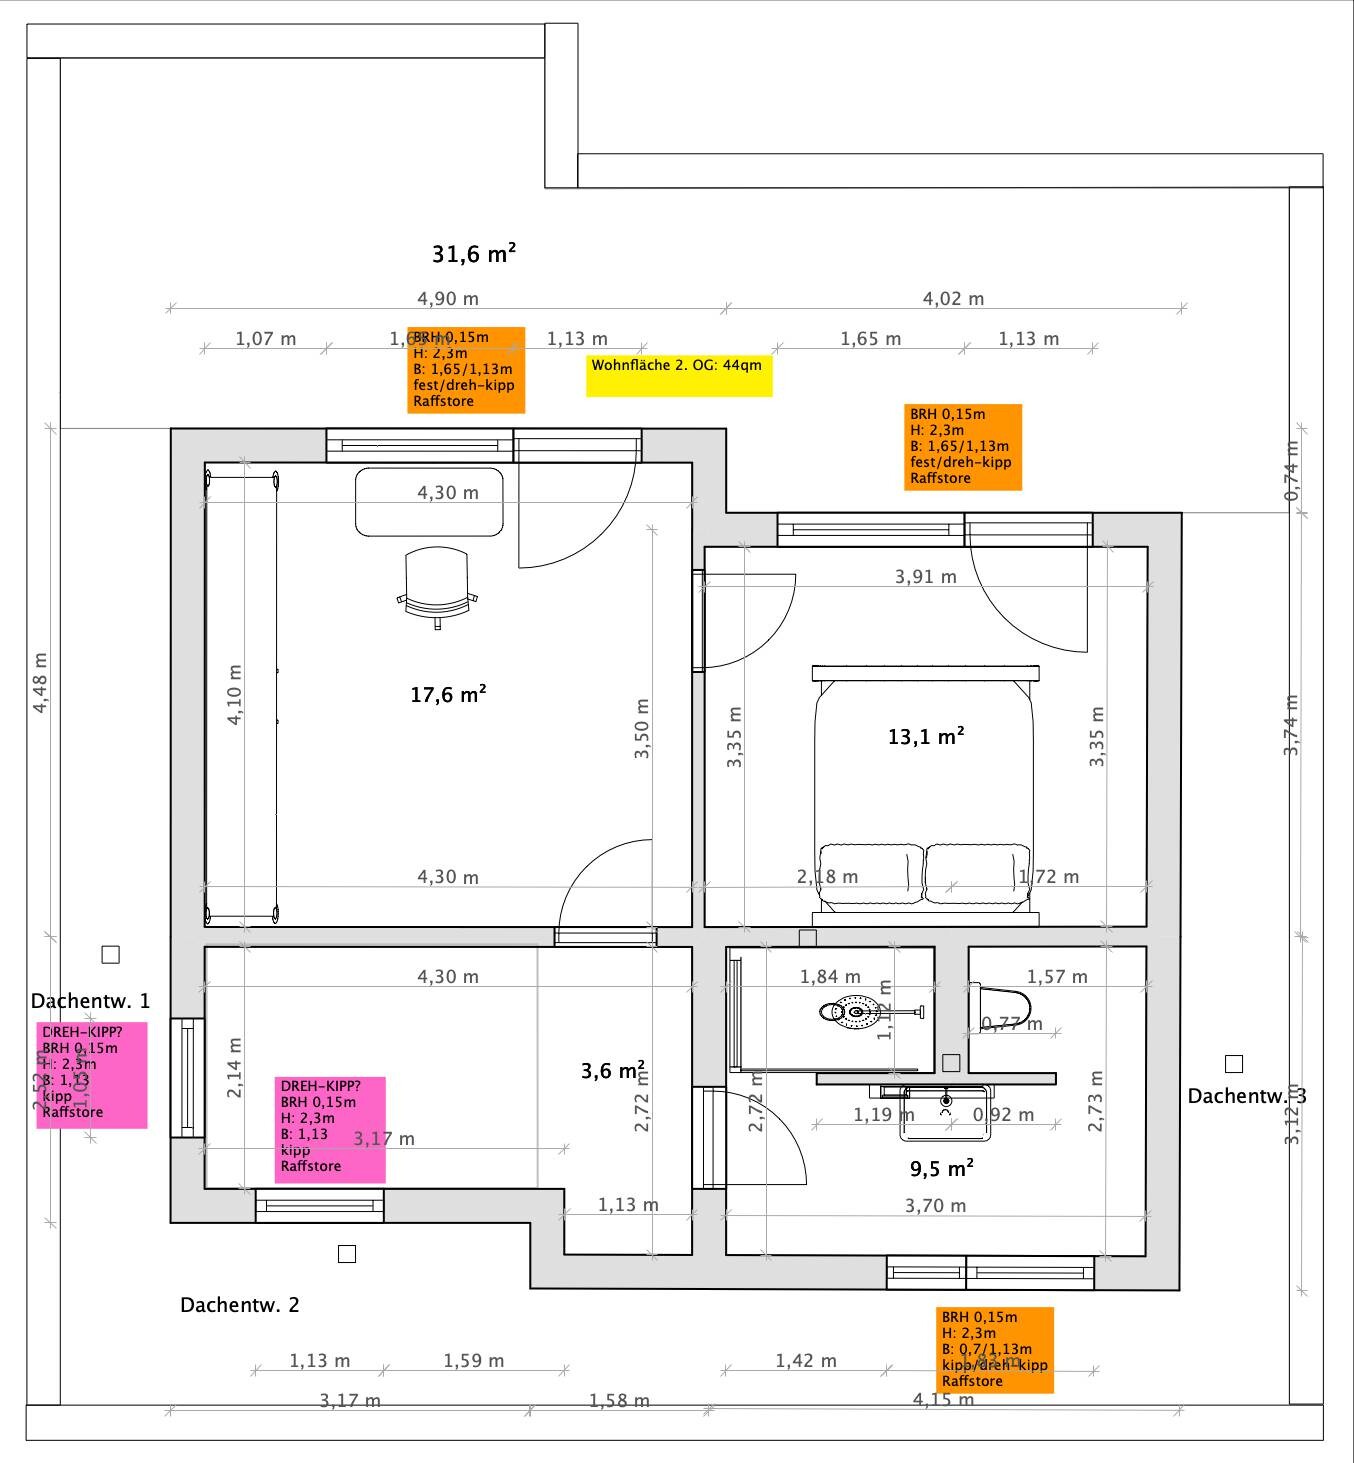
2nd floor:
[*]The dressing/sewing/office room is now directly accessible from the corridor and the bedroom is therefore no longer a walk-through room.
[*]The bathtub in the master bathroom is now history; one in the 1st floor will be sufficient! In addition, the bathroom is now also directly accessible from the corridor. Overall, the layout now seems more coherent to us, especially regarding the daily paths (bed -> wardrobe -> bathroom)
[*]This also resulted in a nicer positioning of the bed with a view outside.
[*]The lift-and-slide door in the dressing/sewing/office room and bedroom was removed and replaced by fixed glazing and a glass door.
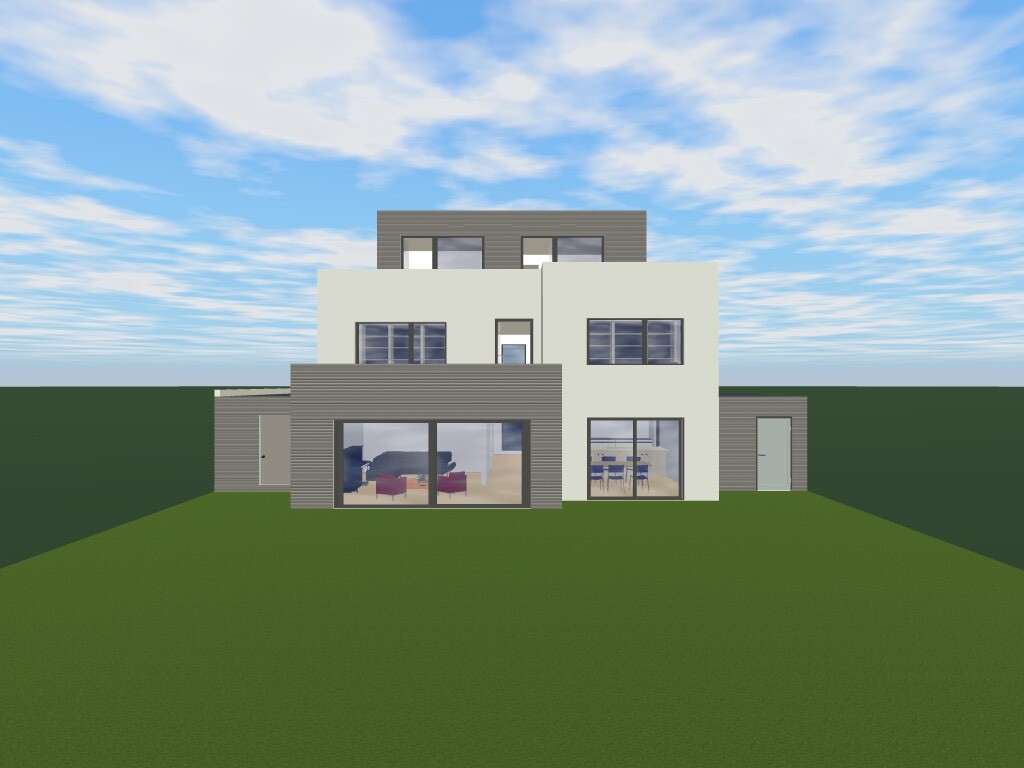
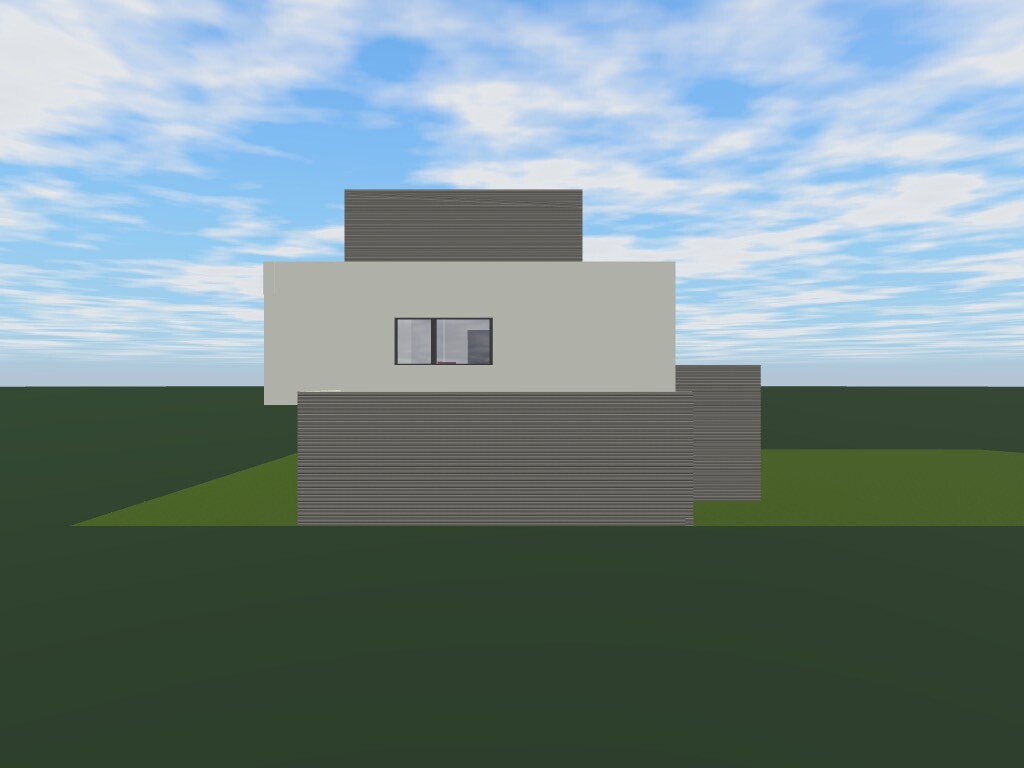
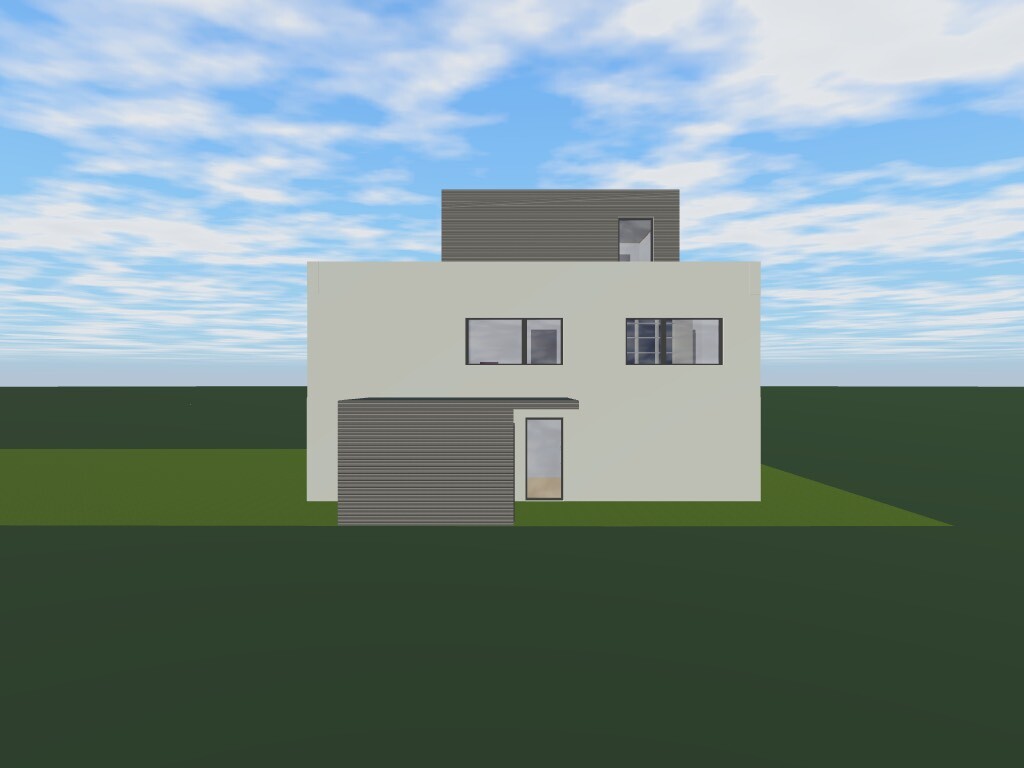
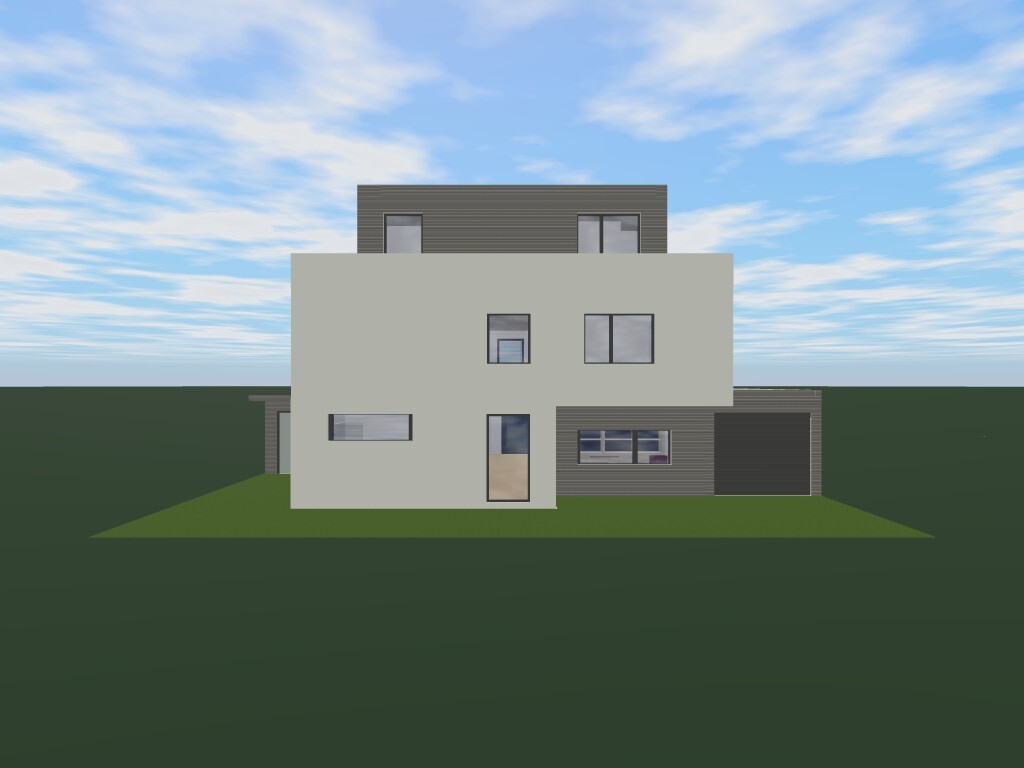
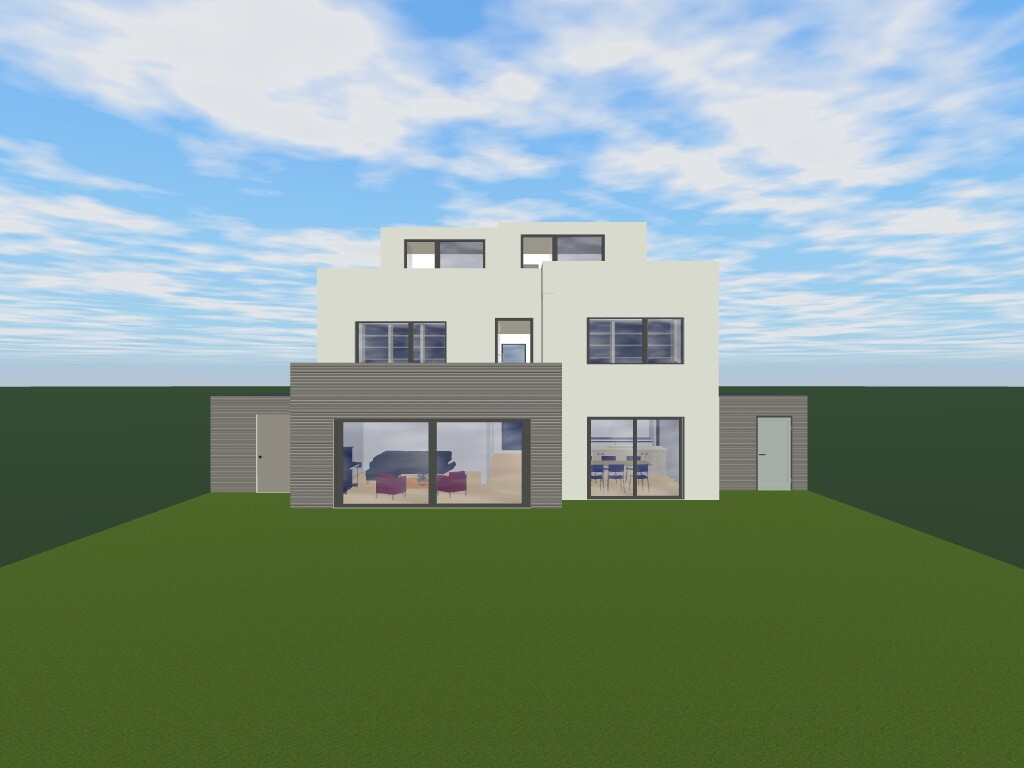
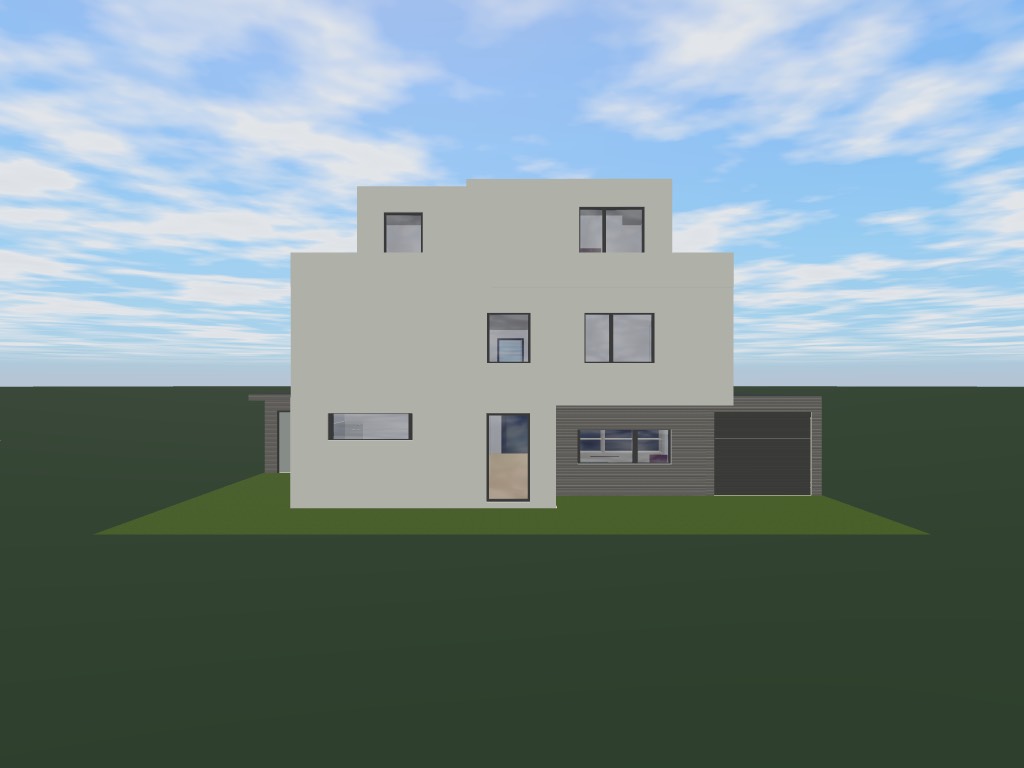
General changes: Window formats were standardized and the arrangement chosen with care.
Now to our floor plan questions:
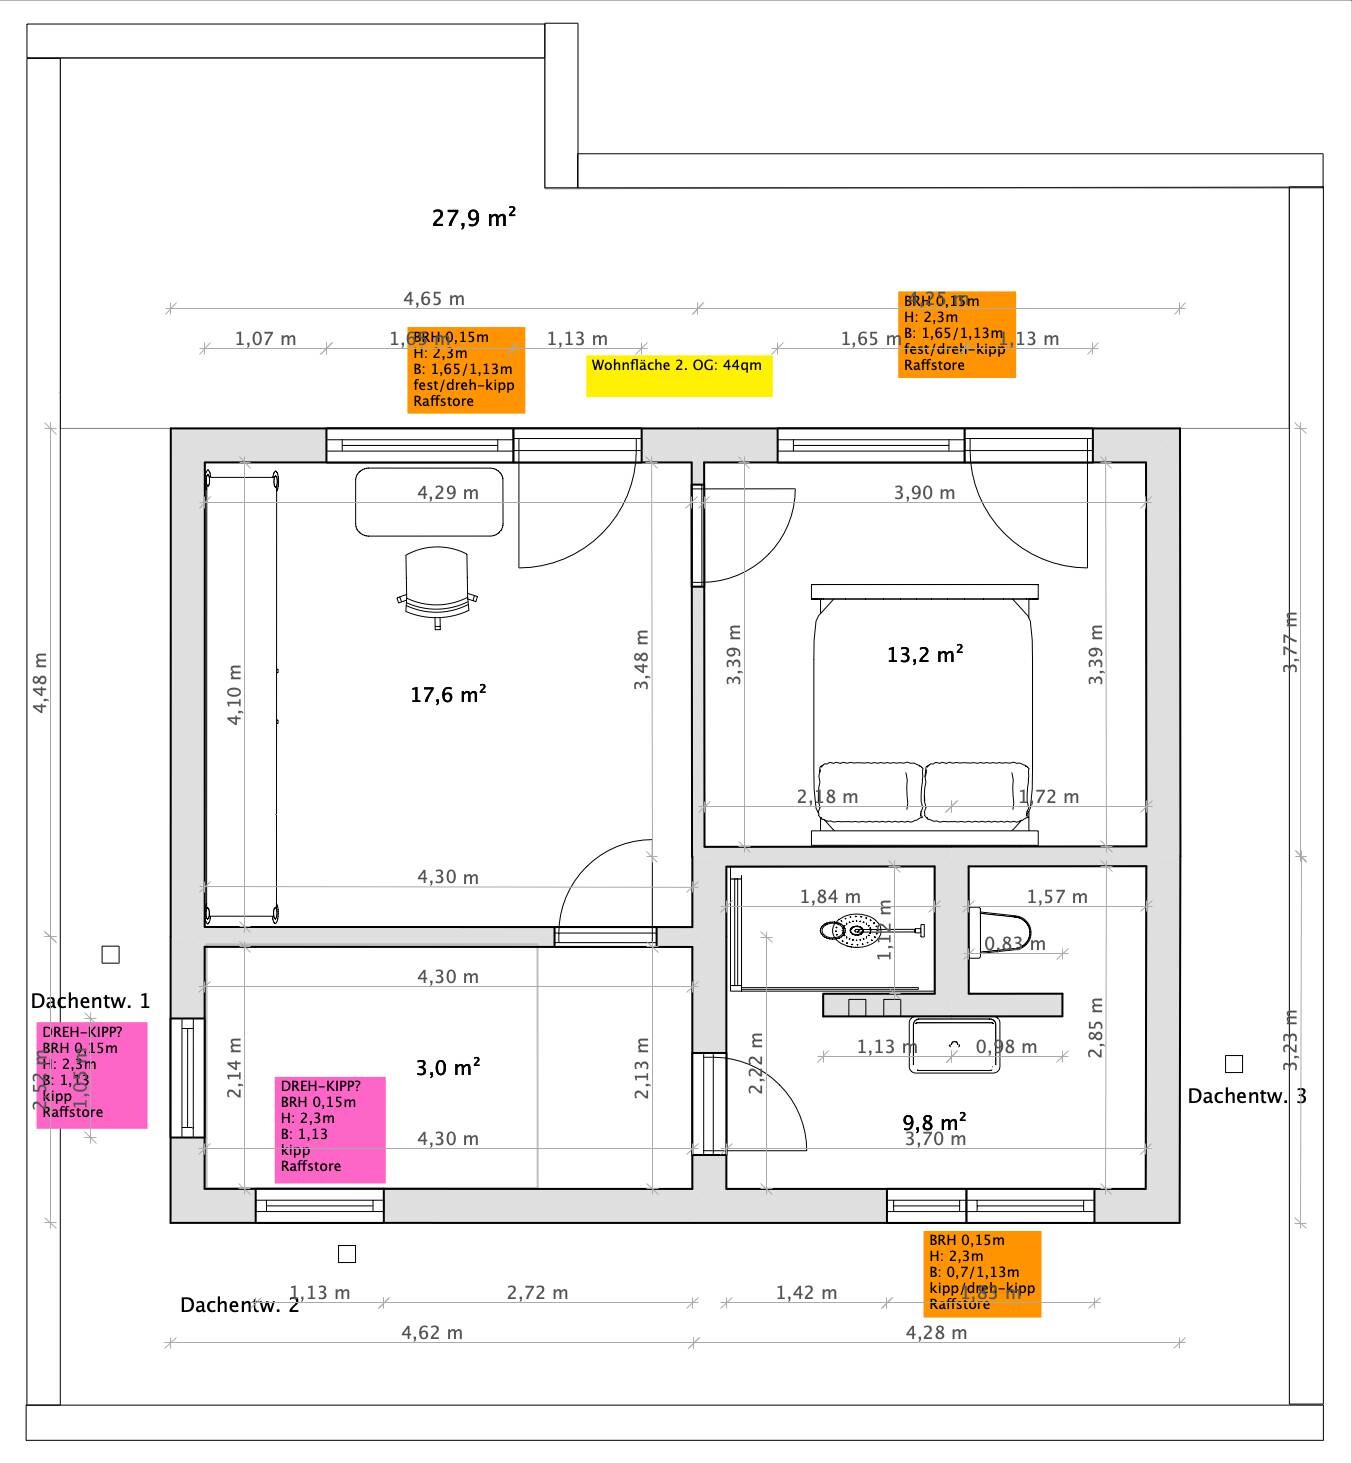
[*]For the parent level, we can basically imagine two versions leading to the same square meter area. Version 1 has two offsets (bathroom and bedroom). The advantage here: the water pipes (fresh and wastewater) can be placed above the drywall walls of the children’s bathroom or can be routed invisibly inside them. Version 2 has no offsets at all, so it is easier to build, but the pipes are not above the pipes of the children’s bathroom. No idea if this makes the pipe planning terribly complicated... Which option would you prefer and why, or do you have a completely new idea?
[*]The stair exit on the 2nd floor is only 1.30m. Is that sufficient according to your experience?
Furthermore, we also have technical questions. I have only listed them here for informational purposes, knowing that I would probably place them better in another subforum. If you do have an opinion on them anyway: just let it out ;-).
Technical questions:
[*]Floor construction: We have some difficulties with the maximum building height, so we are bargaining for every centimeter. The general contractor plans 19 cm floor buildup on each floor, the architect says 15-16 cm should be enough. His calculation is as follows: concrete slab -> 50 mm insulation, ventilation ducts with 50 mm height laid inside, supply/return heating, fresh water, electricity, -> filled up with perlite beads -> 20/30 mm insulation -> 20 mm underfloor heating -> 45 mm screed -> 15 mm floor covering = 150/160 mm. Does this correspond with your experience or is this too optimistic? The drainage of the bathrooms is done behind built-up boxes and is not routed through the floor.
[*]Roof drainage: The architect has promoted the internal flat roof drainage and has also planned it immediately at the media supply behind drywall walls. We like it, but we have no experience regarding durability, tightness, etc. Can any roofer do that or do you need an expert, whom a general contractor probably does not have/want to pay? Additional question: Can/may rainwater downpipes be hidden in the external insulation (in our case 140 mm)? Is that common, difficult, or nonsense? For your information, it will be a KfW55 house.
[*]Rainwater drainage: In our building area, it is not allowed to discharge surface water into the sewer system. Instead, it must be led to an open channel in the street. Our finished floor level will be 20 cm above street gradient/channel level. Now the crucial question: How on earth can we direct the water from the rainwater downpipes from all four corners of the house to the channel at the street in an aesthetically pleasing way and with the simplest/cheapest means possible? I simply lack imagination, maybe you have already encountered such a requirement? For your information: the flat roofs are mostly greened, so the rainwater should be held back somewhat... This planning task seems even more difficult to solve to me with internal downpipes, which are only led outside below the basement ceiling – and thus already below street gradient – than with external downpipes, where I can at least use some slope... I am grateful for any tips! I had already thought of a soakaway with overflow into the street channel...
Thank you very much for your time and your thoughts on the above points or also on completely different ones ;-)…
Best regards
Stephan